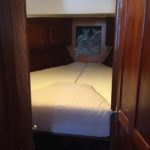
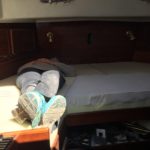
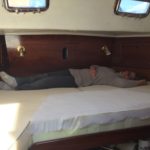
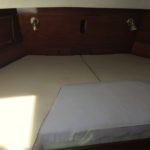
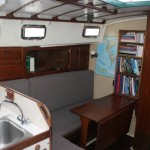
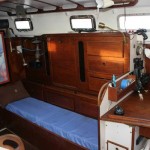
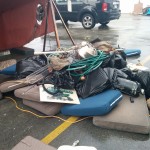
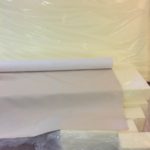
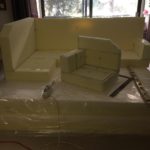
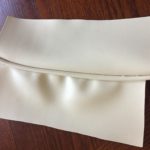
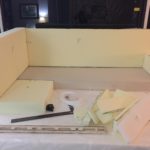
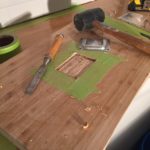
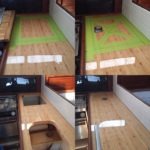
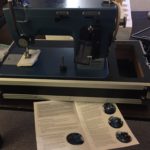
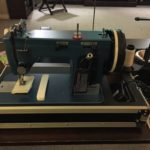
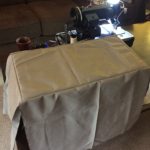
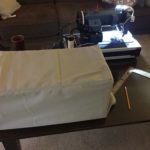
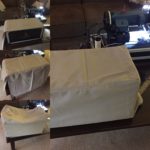
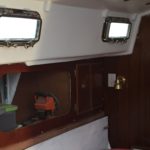
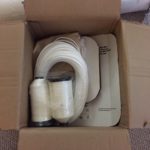
All of the mattresses were made from detailed patterns. Learn how to do it on sailrite.com if you do not know how already. We brought them down for a test fitting as I wanted to make sure before I finished covering them that I had actually made them correctly. Turns out the only adjustment I had to make was the aft cabin keystone cushion. I will clean up the hack job when I get it home and before I finish the covers.
Main Salon Cushions
When we purchased Akupara, all of the interior cushions were mismatched and in really rough shape. We knew we were going to replace them all so one of the first things we did was throw them all out.
It has been a long time coming but we have finally started on replacing them all, which is an additional reason why I purchased the Sailrite LSZ1 sewing machine last year.
2 years ago at the boat show we picked the foam we were going to use and this year we purchased it. The aft cabin and the v berth will have 8 inches of foam, 5 inches of a firmer foam and 3 inches of a softer foam glued together. The main salon has 5 inches of the harder foam. We went with a harder foam in the main salon to deter extra over night guests, joke 🙂 , because we wanted the cushions to last as long as possible and we all know that in time they will soften.
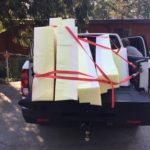
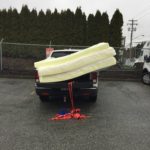
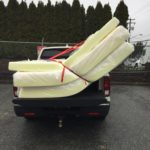
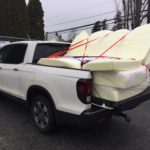
Fitting 3 King size pieces of foam, 2 8″ thick and one 5″ thick into my truck was a little challenging, but we managed.
I have made cushions for boats in the past but on a home sewing machine and just reusing the old foam. They didn’t look too bad but they were very simple boxes and there was a lot of room for improvement. The second time I made them, for our Alberg 30, we paid to have the main salon cushions made and were less than impressed so I made the v berth. This time, I guess I am putting my money where my mouth is, and doing ALL of the cushions/mattresses.
The first part of course is cutting the foam to size.
These pieces are the main salon settee and the Nav station.
I had rough plans but needed to take exact measurements before cutting. The 5″ foam cut really nice with our electric kitchen knife. We will see how it goes with the 8″ thick.
Once we had the material it was time to do a test piece. We had originally wanted to go with Ultraleather but could not justify the cost with 2 dogs, so we chose vinyl. Yup, I said it. Vinyl! Now before you pass out, shut down your computer, or merely dismiss me as a lunatic, you need to understand that vinyl is not the same as what it was on your dad’s boat. The vinyl we bought is a marine grade highly wear resistant material that is very close to Ultraleather but less than half the cost.
If anyone ever asks for advice on how to do interior cushions, my response is going to be measure 10 times, cut once, and test fit every single thing you do!
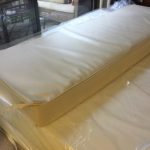 This picture above is about the 5th time test fitting, sew a little, test fit again, and repeat. You can see the side are not attached yet.
And once you have it all figured out, insert the foam and discover all of your mistakes.
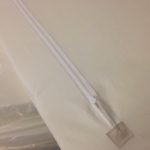 Like this one above. Yup, I put the zipper in upside down. And the entire time I was thinking to myself, don’t put the zipper in upside down. Thankfully it is an easy fix.
I still have to fix my corners, corners with piping is challenging and the learning curve is pretty steep, but here is the first cushion completed, almost.
Catch Up!
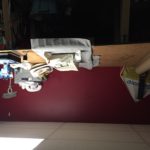
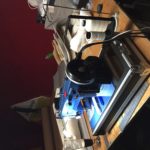
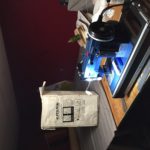
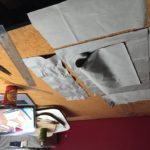
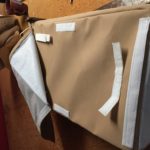
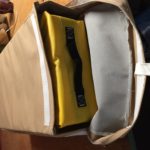
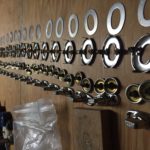
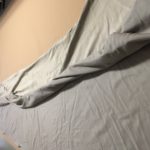
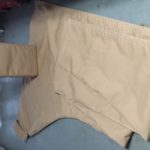
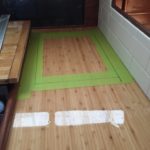
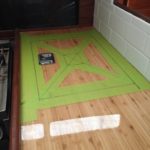
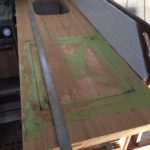
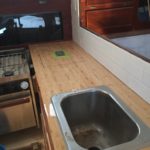
 Almost impossible to add stories for everything that we have worked on for the last 4 months, so I will instead let the pictures tell the story!
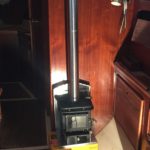
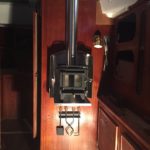
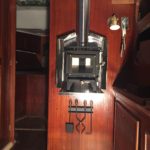
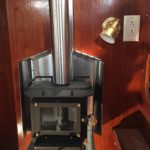
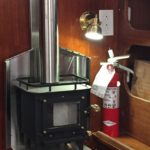
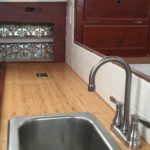
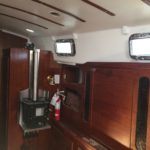
A high level overview is, we had a very bad winter for Vancouver, we installed a Cubic Mini Woodstove, we purchased a Sailrite sewing machine and we continued work in the galley. That and 1000 other things!
